How to Make Your Own Tanabata Decoration
|
||
| Licensing | ||
Every year the Tanabata festival is celebrated around the world in commemoration of the stars Orihime (Vega) and Kengyu (Altair), two lovers separated by the Milky Way except for this one night. Originating in China, this romantic story became popular in Japan beginning in the 8th century and is still widely celebrated to this day.
Tanabata means the "7th evening," and is celebrated during the 7th night of the 7th month. Due to the change from the lunar calendar to the Gregorian calendar, it is often celebrated on July 7th, but traditionally it is held in August, when the sky is clear and the two stars are closest in the sky.
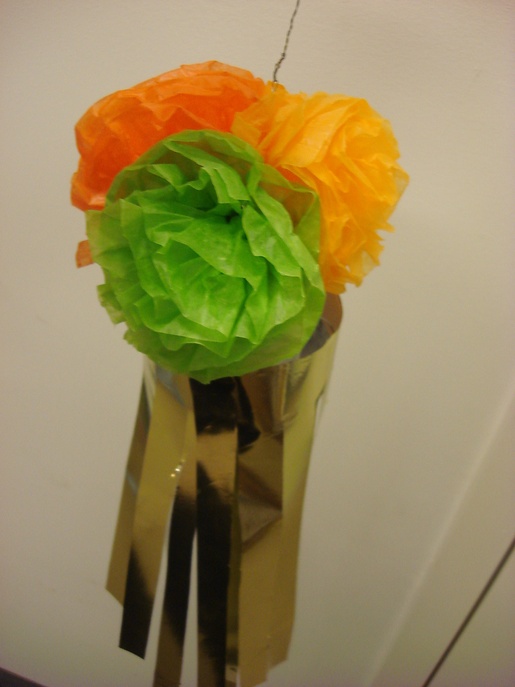
The Tanabata festival is often characterized by writing wishes on colorful strips of paper (tanzaku) onto sprigs of bamboo branches , but another popular decoration is the kusudama, the colorful, round decorations with long strips of paper hung during the festivals. Here, you can find directions to create your very own kusudama!
This craft activity was created by Discover Nikkei staff at the Japanese American National Museum for a Tanabata Workshop as part of the Museum's 10th Anniversary of the Pavilion Open House event on June 20, 2009.
Slides in this album |
|
|
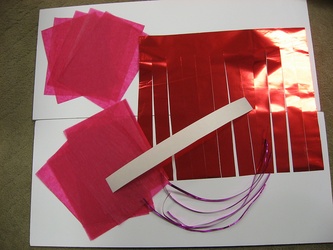
Gather MaterialsYou will need: |
|
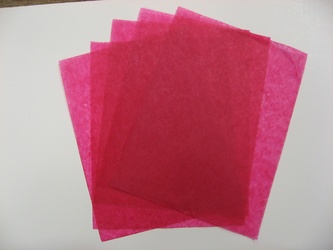
Making the Flowers: Step 1Gather 5 sheets of the tissue paper.
Tanabata Kazari How-to: Making the Flowers Step 1 |
|
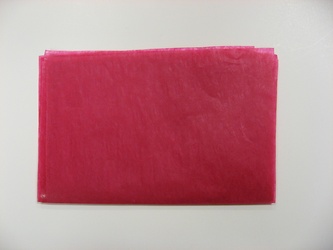
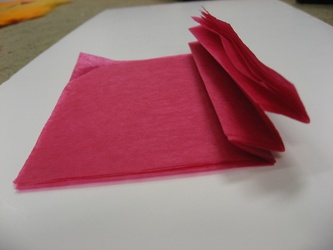
Making the Flowers: Step 2Fold the 5 sheets together in half (hamburger style)
Tanabata Kazari How-to: Making the Flowers Step 2 |
|
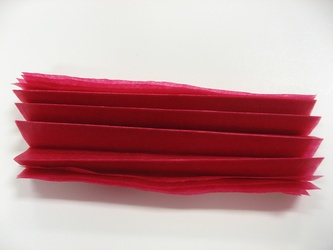
Making the Flowers: Step 3Fold 1 side of the sheets in about ¾" size folds, accordion-style.
Tanabata Kazari How-to: Making the Flowers Step 3 |
|
Making the Flowers: Step 4Continue by folding the other half of the sheets.
Tanabata Kazari How-to: Making the Flowers Step 4 |
|
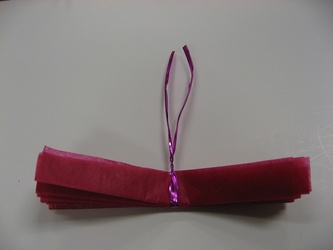
Making the Flowers: Step 5Fold the sheets in half and tie the wire around the crease in the middle.
Tanabata Kazari How-to: Making the Flowers Step 5 |
|
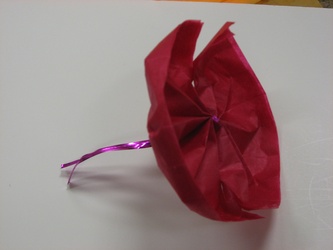
Making the Flower: Step 6Hold the twist tie firmly and taking one side of the sheets fan open the sheets so they make a half circle. Flip the edges of the sheets up to make this step easier. Repeat on the other side. You should have what resembles the bottom of a circular container.
Tanabata Kazari How-to: Making the Flowers Step 6 |
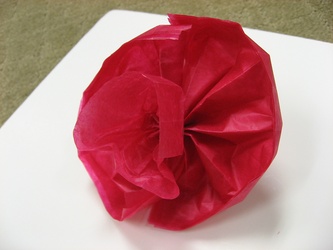
|
Making the Flowers: Step 7Carefully take the top sheet of one side and lift up towards the center to cover middle. Alternate sides and repeat for each layer.
Tanabata Kazari How-to: Making the Flowers Step 7 |
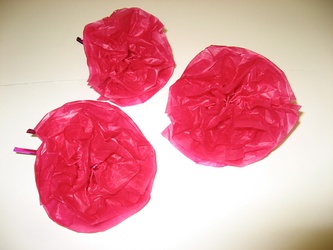
|
Making the Flowers: Step 8Repeat to make 3 separate flowers.
Tanabata Kazari How-to: Making the Flowers Step 8 |
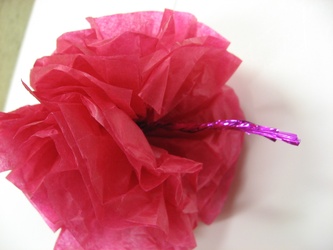
|
Assembling the Flowers: 1Take a twist tie and roll it around the top of 1 of the flower’s “stem” 2 times (this will be used to hang your tanabata)
Tanabata Kazari How-to: Assembling the Flowers 2 |
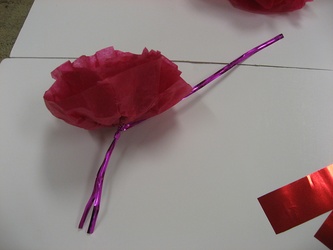
|
Assembling the Flowers: 2Twist all 3 wire "stems" together.
Tanabata Kazari How-to: Assembling the Flowers 1 |
|
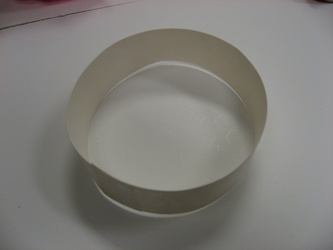
Putting It All Together 1Take the strip of paper/cardstock and attach the ends with tape so you now have a ring of paper.
Tanabata Kazari How-to: Putting it All Together 1 |

|
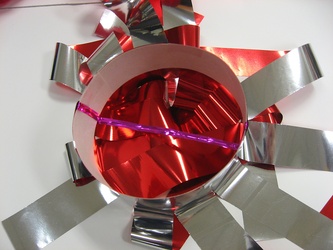
Putting It All Together 21.) Wrap a twist tie around 1 end of the paper.
Tanabata Kazari How-to: Putting it All Together 2 |
|
Putting It All Together 31)Take the foil paper and cut fringes, but remember to leave an uncut strip at the top. **The circle strip of paper should be positioned so the twist tie that spreads across the strip is at the bottom.
Tanabata Kazari How-to: Putting it All Together 3 |
|
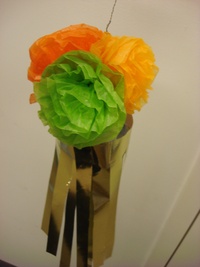
Putting It All Together 4Twist tie the bottom “stems” to the one in the ring to finish. And now you have your very own tanabata decoration! |
 ylkawashima
 2009 Tanabata Festival
 Tanabata at JANM 2009
 Beautiful Kokeshi Dolls: A Uniquely Japanese Folk Art
 How to Make Your Own Tanabata Decoration
 Simple Kokeshi Doll Tutorial
 Bridging Generations: The UCLA Nikkei Student Union
 Journal feed
